
Now I used Studio G ink pads, copics, and opaque pens. It just takes a few dabs here and there and you really change your flowers and give them character. Also an important factor to consider on this cut is you may want to color the base cut where you add the petals. I used my copics in this area before I place my petals on the flower in the card below. Also don't forget rhinestones and brads make a great center for a card. I don't have any flowers like that pictured here but they are great accents. I just concentrated on showing you inked flowers and one image to show how different one image can be. Plus I did want to make this post any longer than it is. lol This will work an so many of the different flower cuts out there.

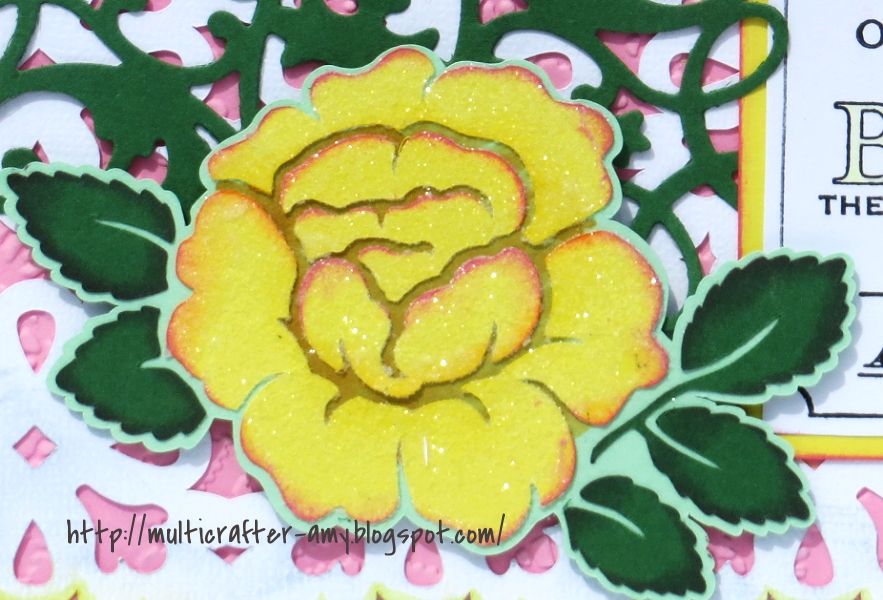
On this yellow rose I inked the edges pink and glittered the petals. The leaves were inked with green ink.
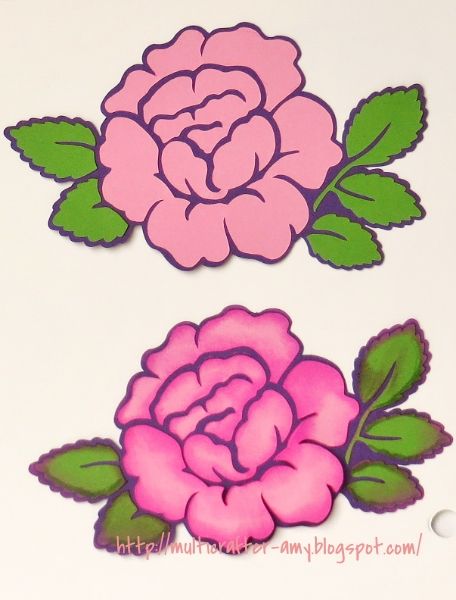
The top rose is untouched. The only thing I changed from the sample image in Design studio is the background from white to purple. Color can make a difference. The bottom is the same as the above but I inked the edges with an studio G ink pad you can find in the $ 1.00 bins at Joann's Michael's, or some of the the big grocery stores in their crafts section. It don't cost a lot to achieve this look.
I inked the petals with pink and the leaves with purple.

These flowers were cut with a black background and all white petals and leaves. The colors you see are all from me inking them with an ink pad. They will look great with chalkboard ink stamps and such.

These are harder to explain but if you like copics and like to color that's all you need. The copics have to be close to the shade of color paper you decide to use. I only own a handful of copics so I am limited in that aspect. Though someday I will try to increase my collection. I mostly color my cricut cuts with my copics. Now I was just playing with theses cut in attempt to create a painted look.
I also used different opaque pens to outline the petal and leaves.
The challenge is to alter a flower from any cricut cartridge and put it on a card or, scrapbook page, box or etc. So easy and fun!!! I do ask you submit a new project.. Link it here and make a comment below please,
It would be nice if you post to the Circle message board on my post to let me know you entered here. Thanks.
The prize is an extra of the stamp above that I bought and few other embellishment goodies to go with it !
Such a great tutorial, Amy! I need to work on my marker skills for sure! Thank you for your post!
ReplyDeleteWonderful, wonderful tutorial! I have a new box of copics that I will put to use using your instructions. Thanks ever so much!
ReplyDeleteDi&Co
Hmmm....I have Copics that I've never used. Maybe it's time to break them out. Great ideas Amy!!
ReplyDeleteThis will definitely make me try and use my markers more. Gorgeous flowers!
ReplyDelete