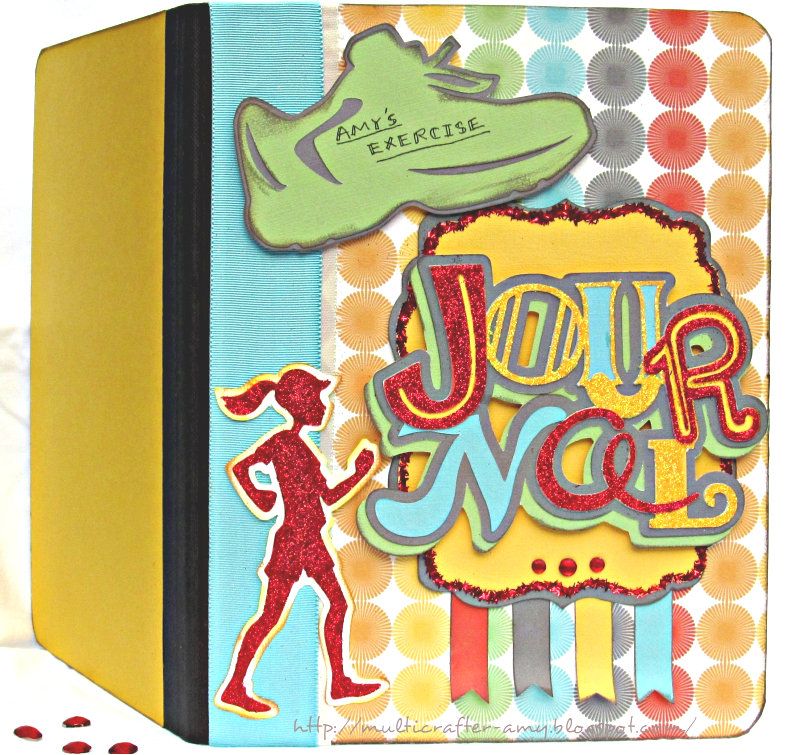
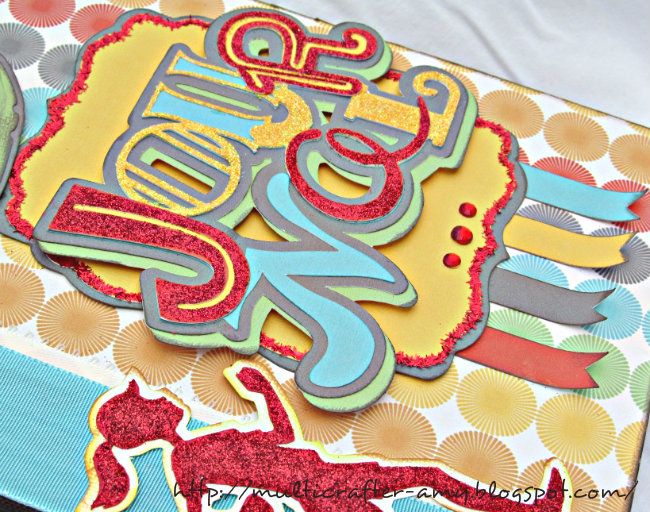
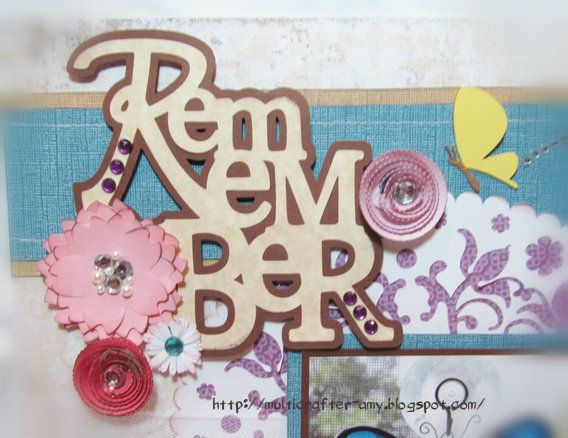
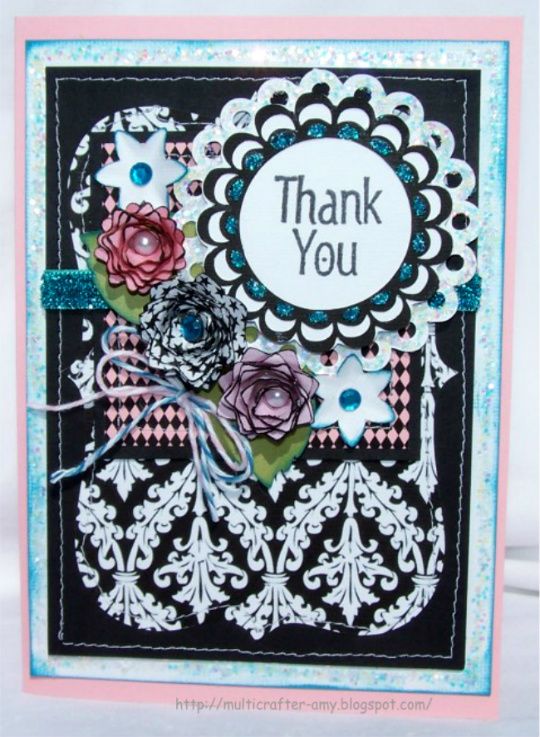
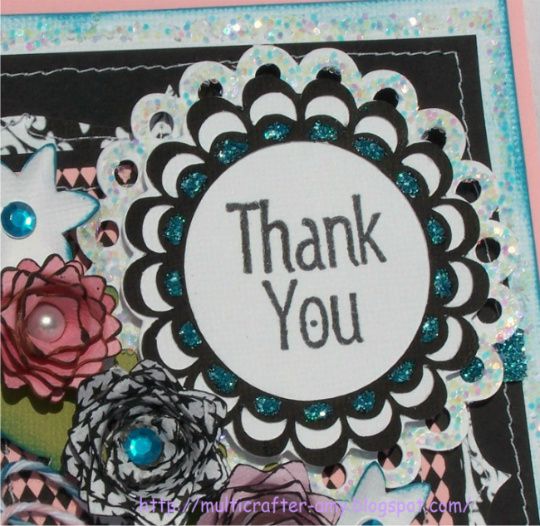
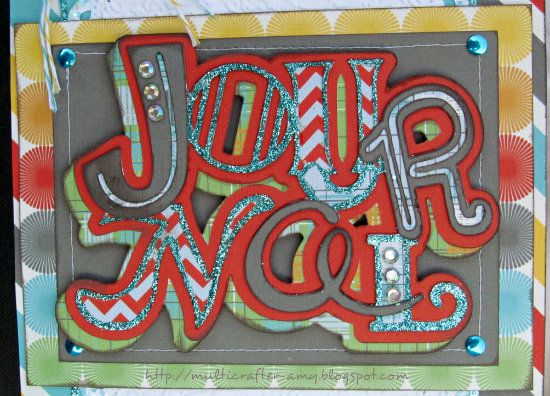
Here is the second journal I made. You can see more tips on how I made this in my post from yesterday. I did make this one a little different. I still used the Imagines Word of Mouth cartridge for all the matching paper. You can see it's the same Journal word cut I used on my last Journal. Though it is the same cut it looks totally different with the my paper color choices and where I used my glitter this time. I also added gems to some of the letters.
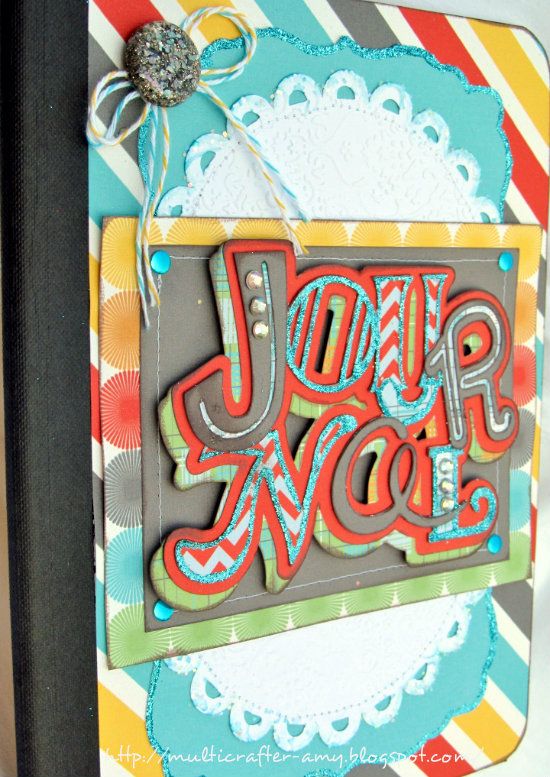
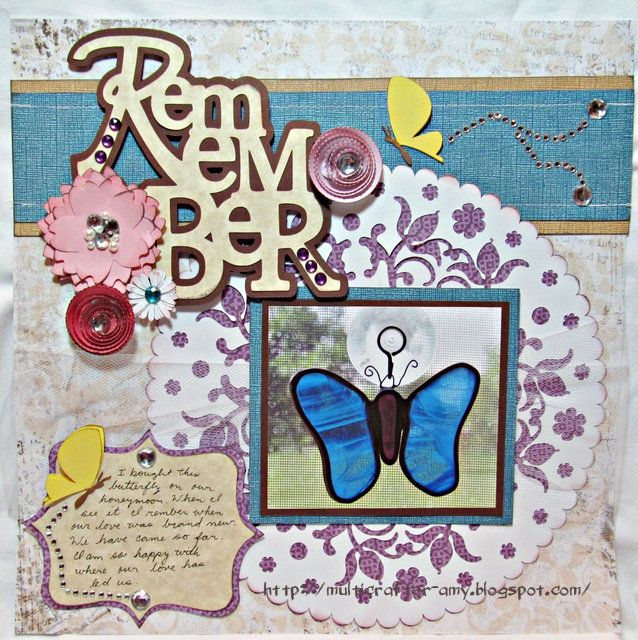
I stitched on the mat and on the doily that I ran through one of my embossing folders.
I will try to find the name of it and do an edit.
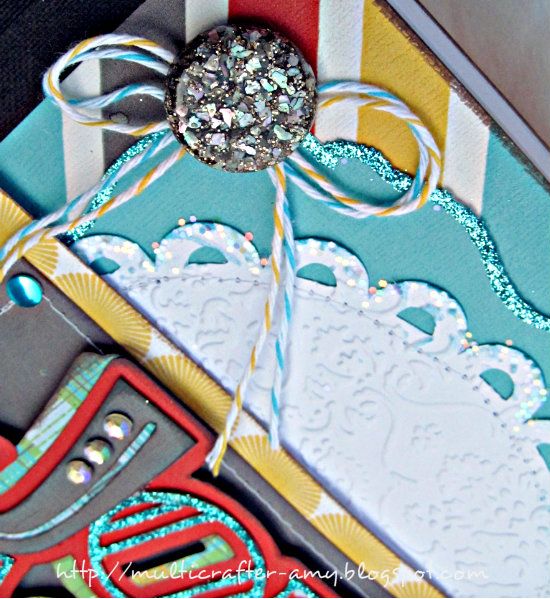
Here I added a button I found at an estate sale. I bought a bunch of vintage buttons. It looks like it has little chunks of Mica in it that match both the blue and grey on the papers. I cut a hole in the cover to stick the button in and attached it with a 3D zots. This adhesive holds things on tight.
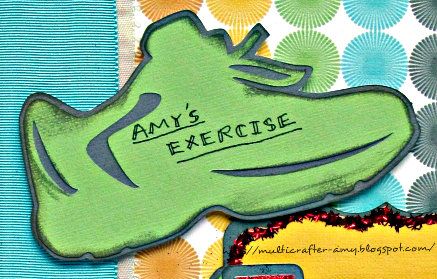
I inked all the edges with a grey ink.
Out of Character =
*Journal at 3.5inches
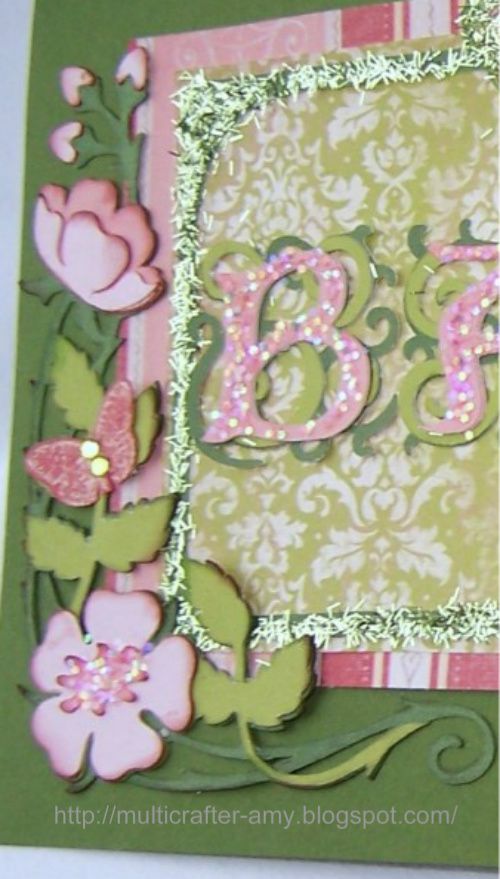
Easter 2010 =
doily cut at 5 1/2 and then I cut it in half , ran it through my cuttlebug, inked the edges with blue and sugared the edges with iridescent glitter.
I used that shape
that come with the Imagine again,which is similar to the a cut you can find
free on the Cricut Craft Room Basics digital cartridge available through
Cricut Craft Room. It was cut at 4.5 inches and then I cut it in half.
The matting behind the word journal is just cut by hand.
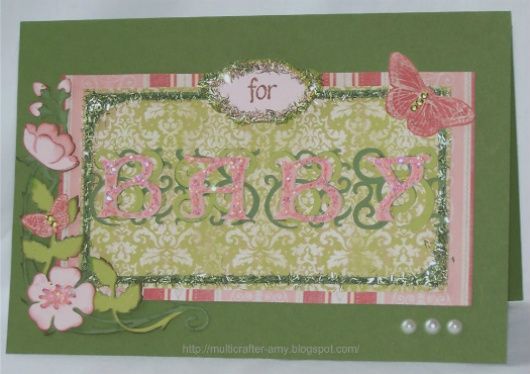
I am going to be posting a card real soon. I hope to have it ready to post by tomorrow. Please leave a comment, I like to hear what you like!
Amy