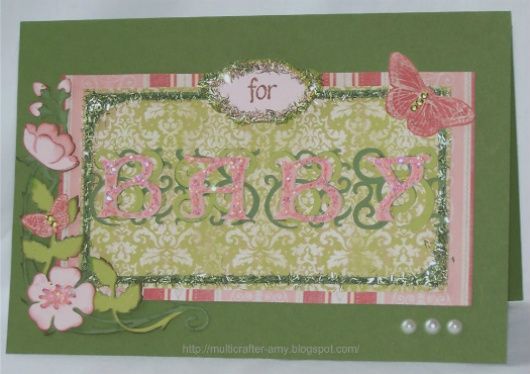
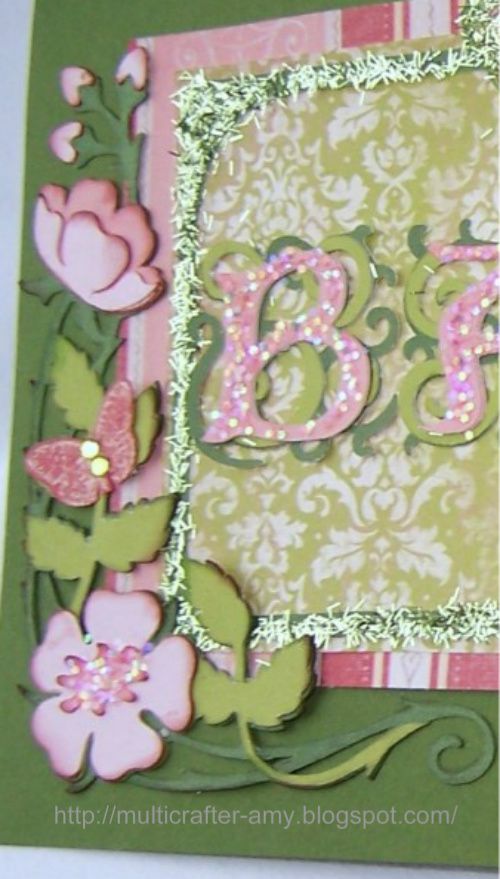
I used tinsel glitter for the green frame.
I think it gives the card a mossy look .
I think it gives the card a mossy look .
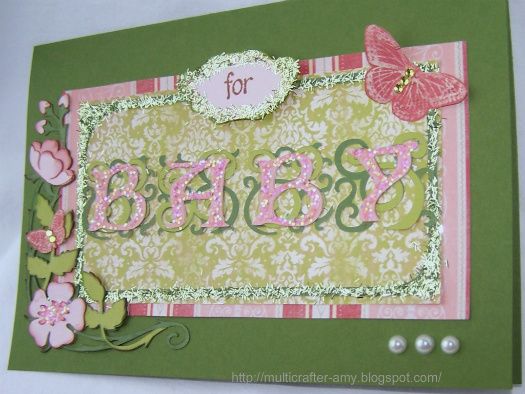
I turned the card here so you can see how it sparkles when you look at it from a different angle.
I used iridescent glitter for the letters (BABY)
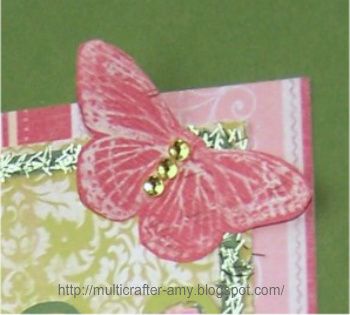
I cut out this butterfly from some of the paper found the Heirloom cartridge and placed a few rhinestones in the middle.
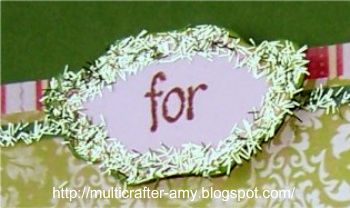

This tag was also made with the Art Nouveau Cartridge. I inked the edges with green and then I glittered it. I pop dotted it on there.
These were the cuts for my card:
All the cuts were made from Art Nouveau Cartridge and the printed paper is from the Heirloom cartridge. The card base is the only paper I did not run trough my Imagine.
I filled in the letters, tag, Square layers, frame and flowers with colors and prints found on Heirloom. I just printed a sheet of the butterfly paper out and cut out some butterflies by hand to get the butterflies accents and added some rhinestones. I inked all the leaves and flowers with a light brown ink pad.
- card was cut from a green cardstock I had on hand.
It measures 7.75 x 5.25. Its a A8 size card.
- cut at 4" filled with dark green
-cut Layer 1 at 4" (relative size) filled with light green
-cut Layer 1 shift at 4" (relative size) filled with dark pink
-cut Layer 2 at 4" (relative size) filled with light pink
-cut the letters (BABY) from Font 2 at 1" and fill with dark pink
-cut Font2 Layer for (BABY) at 1" (relative size) filled with dark green
-cut the Font2 Layer shift for (BABY) at 1" (relative size) filled with light green
For the Background:
- cut pg. 64 Font 2 shift at 3" true size and 2.5" rel filled with dark green (this is your frame)
- cut pg. 64 Font 2 Layer at 3.1 true and 2.5" rel filled with light green damask print
-cut pg. 64 Font 2 Layer at 3.5" true filled with the pink stripe paper
The for Label:
cut 1 pg. 66 Font 2 Layer shift at 1" true
(Flip it upside down.)
The Inside:
cut pg. 64 Font 2 Layer at 2.5" true filled with light green damask print
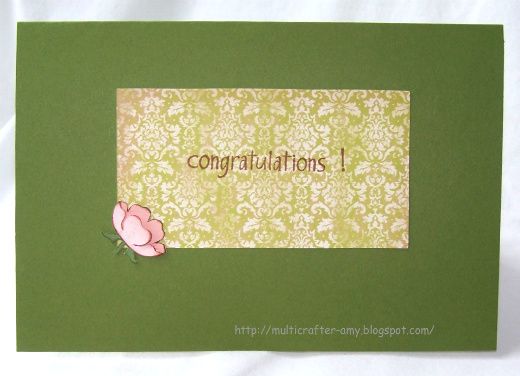
The flower on the inside was from a duplicate cut of the flower you see on the front of the card. Part of it did not turn out the first time I cut it.
I decided to add this good part to the inside of the card. lol
Stamps Used:
I used stamps from The Paper Studios / Stampabilities set called Everyday Expressions.
I also added three little pearls to the bottom right hand corner. It just needed something there.
You should be able to recreate this card with these instructions if you want.
Wish me luck!
UPDATE: My card won!!!
All the cuts were made from Art Nouveau Cartridge and the printed paper is from the Heirloom cartridge. The card base is the only paper I did not run trough my Imagine.
I filled in the letters, tag, Square layers, frame and flowers with colors and prints found on Heirloom. I just printed a sheet of the butterfly paper out and cut out some butterflies by hand to get the butterflies accents and added some rhinestones. I inked all the leaves and flowers with a light brown ink pad.
- card was cut from a green cardstock I had on hand.
It measures 7.75 x 5.25. Its a A8 size card.
- cut
-cut
-cut
-cut
-cut the letters (BABY) from Font 2 at 1" and fill with dark pink
-cut Font2 Layer for (BABY) at 1" (relative size) filled with dark green
-cut the Font2 Layer shift for (BABY) at 1" (relative size) filled with light green
For the Background:
- cut pg. 64 Font 2 shift at 3" true size and 2.5" rel filled with dark green (this is your frame)
- cut pg. 64 Font 2 Layer at 3.1 true and 2.5" rel filled with light green damask print
-cut pg. 64 Font 2 Layer at 3.5" true filled with the pink stripe paper
The for Label:
cut 1 pg. 66 Font 2 Layer shift at 1" true
(Flip it upside down.)
The Inside:
cut pg. 64 Font 2 Layer at 2.5" true filled with light green damask print
The flower on the inside was from a duplicate cut of the flower you see on the front of the card. Part of it did not turn out the first time I cut it.
I decided to add this good part to the inside of the card. lol
Stamps Used:
I used stamps from The Paper Studios / Stampabilities set called Everyday Expressions.
I also added three little pearls to the bottom right hand corner. It just needed something there.
You should be able to recreate this card with these instructions if you want.
Wish me luck!
UPDATE: My card won!!!

Amy this card is wonderful and so very girly.
ReplyDeleteI love the bling and tinsel glitter makes it very special. Great job and I hope you win the contest.
Curt Jensen has a great blog site too!
WOW!!! You really took my challenge to heart! I love that you used both Art Nouveau and Heirloom. I didn't realize how well they both go together until I saw this card. Excellent job. I can't wait to share this on my blog.
ReplyDeleteGreat job on the card. Love the details and the design. Great job.
ReplyDeleteThis is so sweet and I love the use of tinsel!
ReplyDeletesweet card, hope you have a great weekend!
ReplyDeleteenjoy *~*