My 10 year old son was lucky enough to have his name drawn to babysit the class Guinea Pigs. Four students brought notes of permission from their parents and they drew a winner. They are some cute little guys but they love to make a mess kicking stuff out of their cage. I love the sounds they make and watching them run around the cage. My boys are having a lot of fun holding them. It makes me almost want to go get a new dog for a pet but I think I will hold off on that a little while longer. We had dogs for over 15 years and I am not quite ready to train a new puppy.
I did not get much done this December as I had planned. I was sick for a while and then I had a sick husband and kid to take care of. I think I will just be making New Years cookies and candy instead of Christmas cookies. lol I did manage to cut out a few items on my Cricut but was unable to complete any projects. The only projects I did complete was some ornaments I painted for the new baby's in the family. Maybe now that Christmas is over I will be able get some stuff done.

Wednesday, December 28, 2011

Wednesday, November 2, 2011
We carved some pumpkins this year!
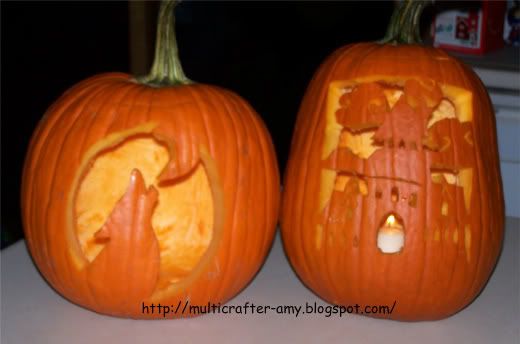
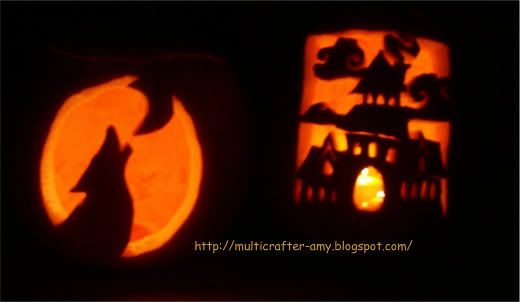
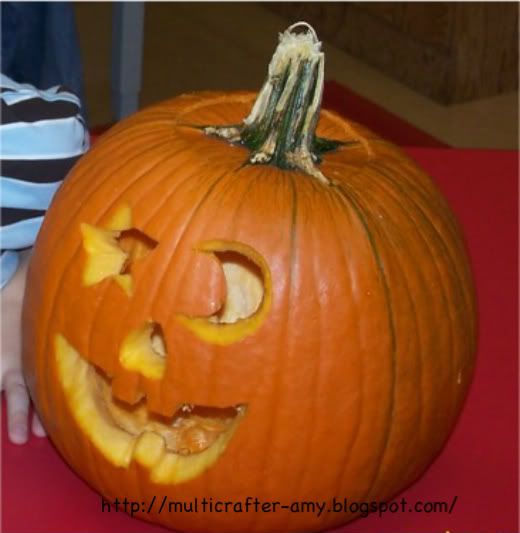
I did not carve pumpkins last year. I just didn't get around to it. My 10 year old asked my husband why we don't carve pumpkins anymore when he heard I had volunteered to help the children carve pumpkins for my other son's kindergarten class. So I made sure to buy three pumpkins when I went to the farm down the road. They have the best selection of pumpkins. I let my boys pick out what patterns to cut out from my Oct. 31st cartridge. We carved the pumpkins together.
Tuesday, November 1, 2011
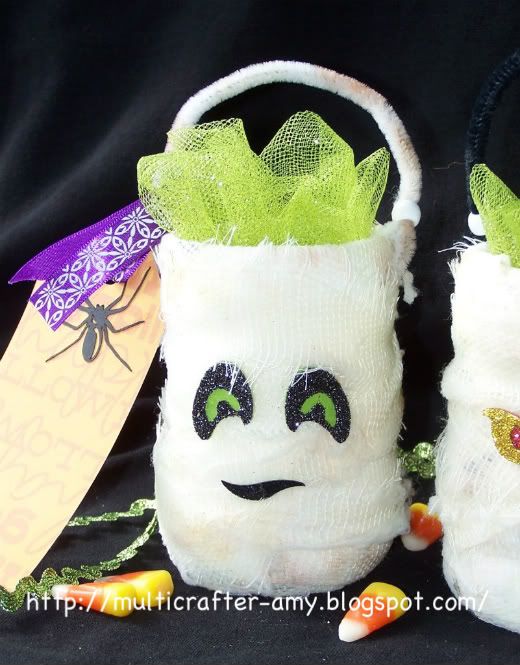
Mummy Treat Cups
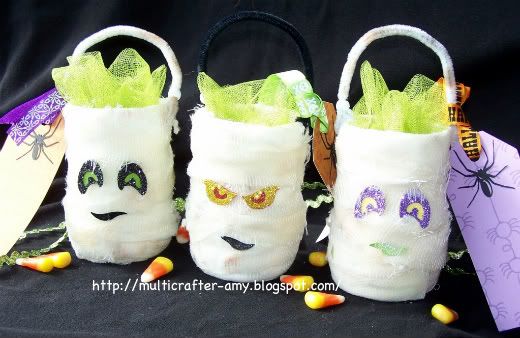
 Here is a picture of the plastic water bottle cut off, and the next step where I covered the bottle with cotton balls. I just used glue to adhere the cotton.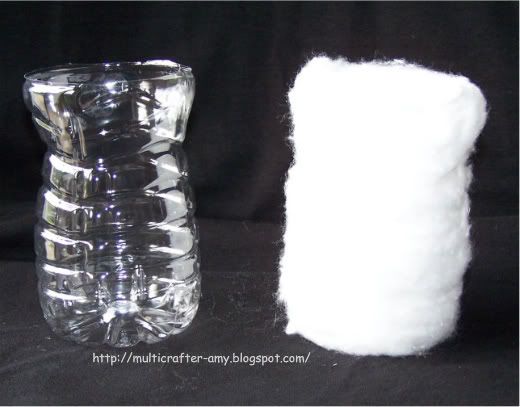
I entered these for the Cricut Chrip but they didn't get picked so I am gonna go ahead and post them now. I think they are super cute!
Materials used:
water bottle, cotton balls,
1 roll of 4 in. x 4.1 yard gauze, mushroom color alcohol ink, plastic sandwich bag, pipe cleaners, grommets, Black, purple, black and red Martha Stewart glitter.
Black, purple, red and yellow cardstock. Black and green glitter cardstock.
I used two printed sheets of Halloween paper and ribbon from Studio G.
Cartridges used:
October 31st and Plantin Schoolbook
First get an empty water bottle and cut in two pieces a little above the middle of the bottle. Discard the top of the bottle. Get your cotton balls and unroll them. Take some glue and wrap them around the whole outside of your bottle. Then get a plastic sandwich bag, put a little water in it and about three drops of the alcohol ink. Take your gauze and cut about 12 inches at a time and then cut it into three long strips. I wanted it to look old. Put your gauze inside the bag then ring it out. Let it dry. Wrap the gauze around the bottle. Use glue to secure the start and end of the gauze. This tints the gauze to make it look dirty.
Cut the eyes and spiders out from the October 31st cartridge at 1 1/2 inches. I used the skinny eyes for the mouths of the mummies. I also made layers for the eyes using the hide contour button on my Gypsy. I started with just using glitter paper but decided that I needed some Martha Stewart Glitter to really make the eyes shine.
I cut the tag out from Plantin schoolbook at 2".
I punched a hole on each side and a grommet with my Crop A Dile. I then threaded in a pipe cleaner with a two beads to cover up the rough part of the handle. I also inked the white pipe cleaners with some of the alcohol ink from a damp paper towel. You need to use a damp paper towel to dilute the ink. I also dabbed some on the gauze with the paper towel. I then glued the spiders to the tags and tied them on with the ribbon.
I hope you all enjoy these. -Amy
Saturday, October 1, 2011
For My Friend
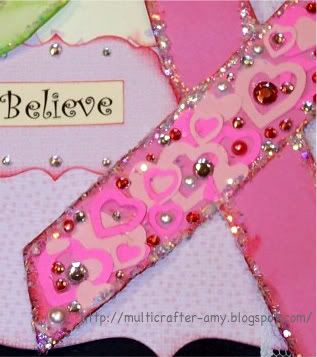
I made this card for a friend of mine that is battling cancer and going through treatments right now. She has been a good listener to me when I have needed a friend to help me through the some rough patches. Sometimes all we need is someone to listen and hold out their hand in friendship through the tough times. I hope this card brightens her day and lets her know she cared for and thought of. How better to brighten her day then to give her a card with lots of glitter!!!

I didn't want just a plain old ribbon. I want to fill it with hearts and sparkle.


 This is the inside.
I used the following Cricut cartridges:
Flower Shoppe - heart petaled flower, cut at 2 inches
Stand and Salute - ribbon , cut at 5 1/2 inches
Easter 2010 - Doily, cut at 2 1/2 inches
ZooBalloo - hearts, cut at 1, 3/4, and 1/2 inches
(some had parts hid with the Gypsy to make solid hearts)
Imagine More Cards for all the printed paper
I then used lace, rhinestones, ink, pearls and lots of glitter!!!
Flower Shoppe - heart petaled flower, cut at 2 inches
Stand and Salute - ribbon , cut at 5 1/2 inches
Easter 2010 - Doily, cut at 2 1/2 inches
ZooBalloo - hearts, cut at 1, 3/4, and 1/2 inches
(some had parts hid with the Gypsy to make solid hearts)
Imagine More Cards for all the printed paper
I then used lace, rhinestones, ink, pearls and lots of glitter!!!
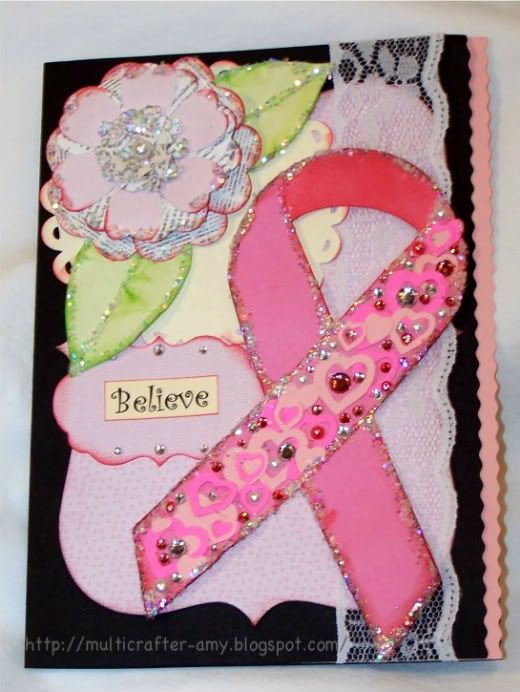
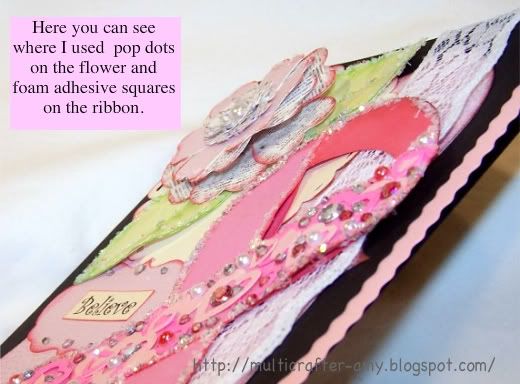

I think I am going to fall in love with this Flower Shoppe Cartridge! Look at the flower. It is the first one I have made. My husband surprised me with this cartridge.
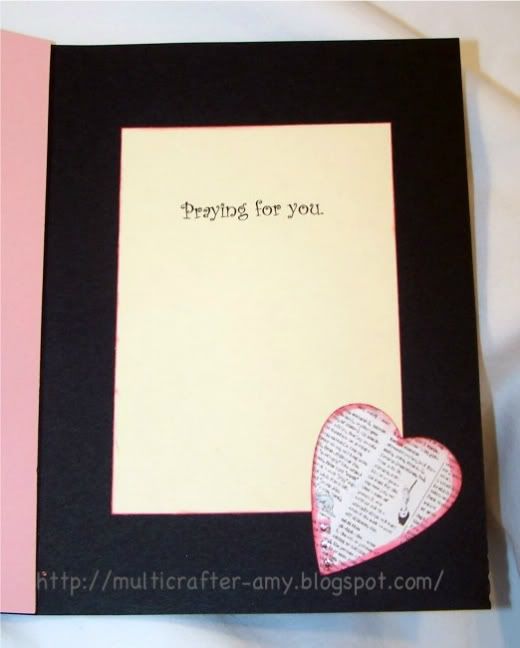 This is the inside.
Sunday, September 25, 2011
Fabric Banner for the E2 challenge
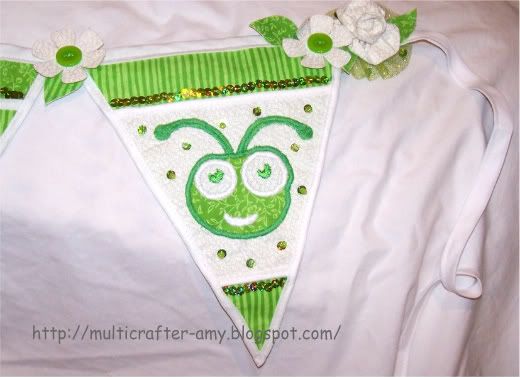
I made this banner from fabric. This was my first time using the Cricut to cut fabric. It was fun. I like how this turned out so much that I am going to make one for my craft room. I don't know what I want it to say yet though. It is hard to tell how cute this banner is without seeing it in person. The sequins have a like a holographic shine them. I used glittered tulle behind the flower bunch at each end. I used bias tape to cover all the edges and wider with Bias tape to connect all the banners together.
The cartridges I used were...Birthday Bash - pennants and letters
Plantin Schoolbook - flowers and leaves (except for the two roses)
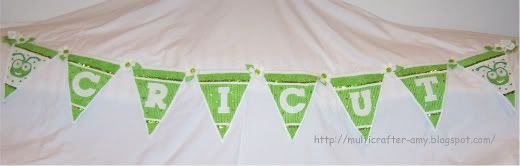
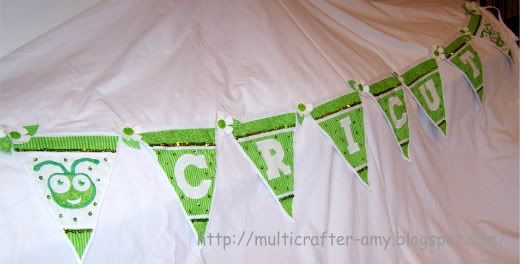
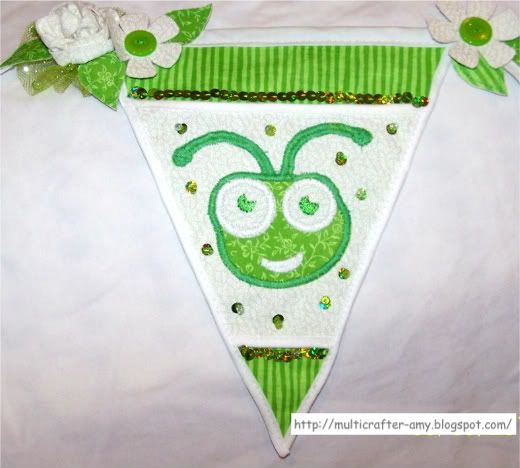
I did the eyes with embroidery floss by hand.
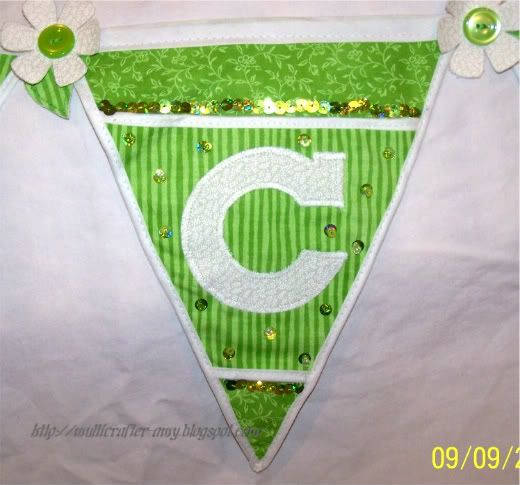
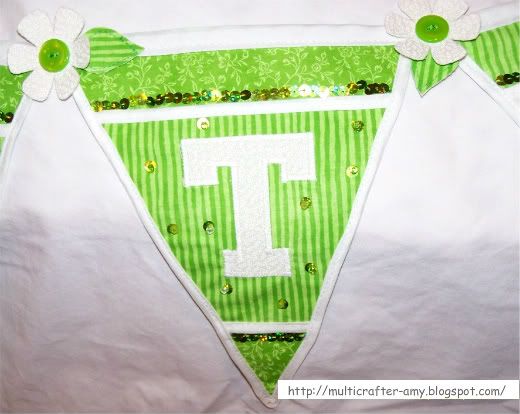
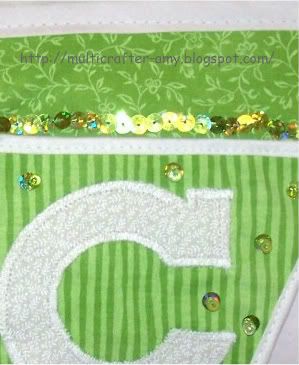 I stitched around each of the letters because I think it just looks nice.
The heat n bond don't have to be sewed around to stay.
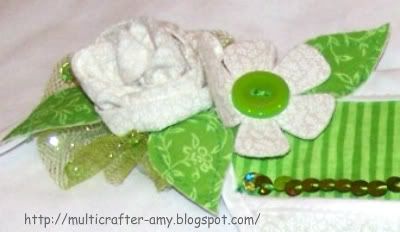

I stitched around each flower and leaf. I backed all the flowers, leaves and banner with Muslin fabric. I hope you all enjoy looking at my banners.
Surprise Birthday Bash for Cricut Banner
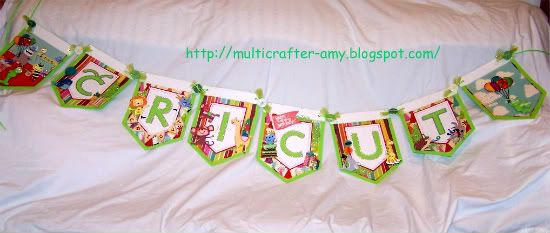
This is my paper banner I made for the E2 Design Challenge. I had a lot of fun making this banner. I just got the Birthday Bash Cartridge last month. I cut all the characters except Cricut from it. I also cut my pennants from the Birthday Bash Cartridge . Mr. Cricut was made by combining cuts from Sesame Street Friends cartridge and Everyday Cricut Cartridge. I used two Elmo cuts for the banner. On the Elmo I used in the first pennant for Cricuts body. I think Elmo is laughing but when I put Cricuts head on Elmo, it looks like he is saying "Oh My!"
I used Everyday Cricut for the letters. I wanted to make sure my letters would still pop with all the characters, so I made them bright green with a great glitter paper for the shadow. I used printed paper from the Paper Studio and printed paper from my Hopscotch cartridge.
First is the surprise party pennant......
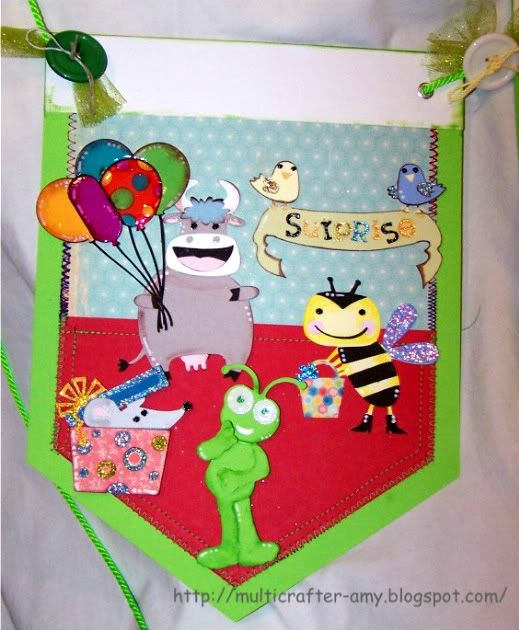 The first pennant shows Cricut surprised by some of his Birthday Bash friends.
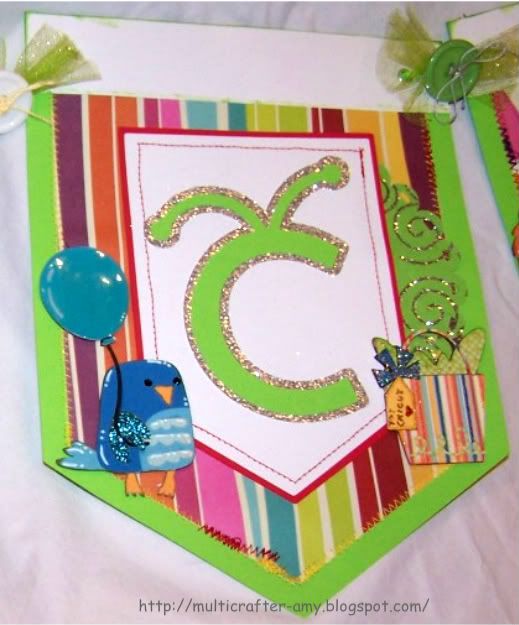 Then on each pennant I show all the guests at Cricut's Surprise party.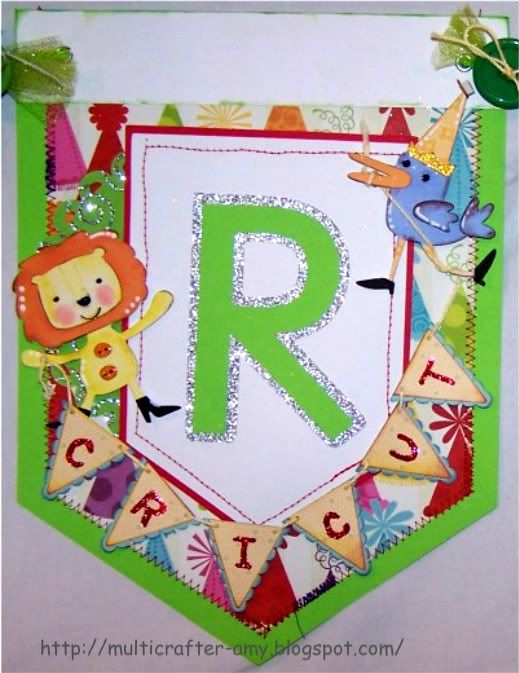
I used adhesive foam for all the characters to make them
stand out from the background.
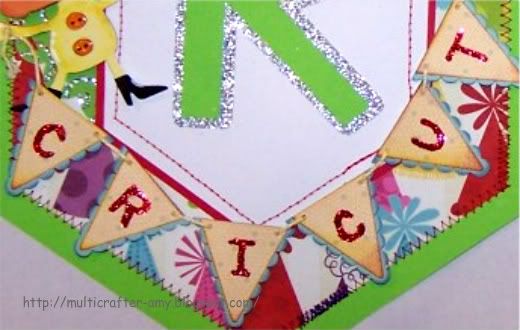
Here is a close up of the banner that is on crochet thread.

Here is the monkey peeking while trying to hit the pinata.

I love how the cat is popping out of the cake.
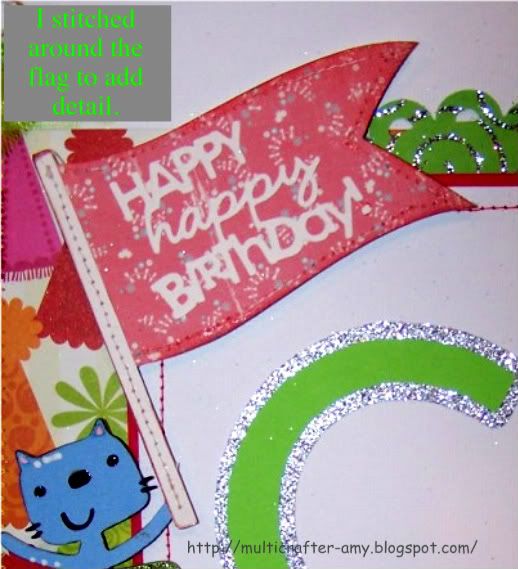
I thought this cat needs something to hold, so I added a flag for him to hold.
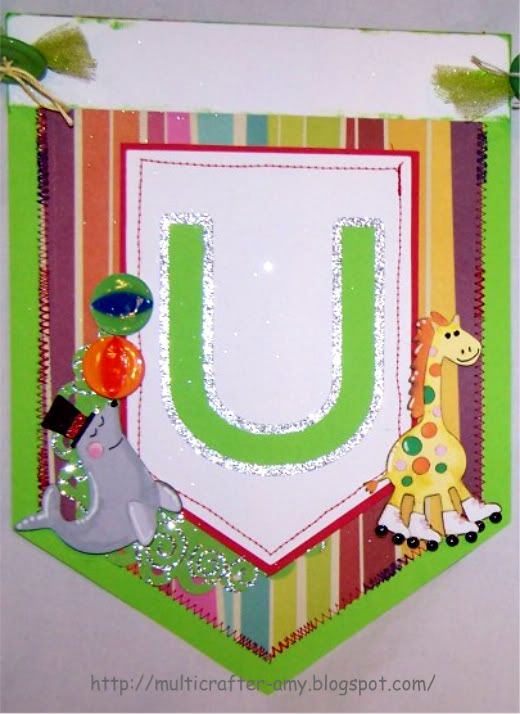
 The seal needed more than one ball to balance at Cricut's party.
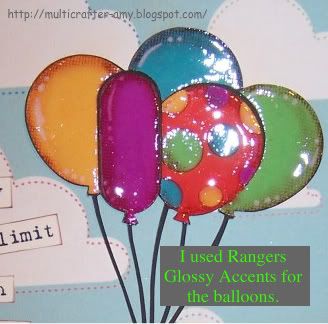
So I made two and added some shine with Glossy Accents.

These two just look like they are having a great time.

And here is Cricut floating away with the balloons he got at the party.
They are seen in the first pennant.
The printed paper is from the Imagine Hopscotch cartridge.


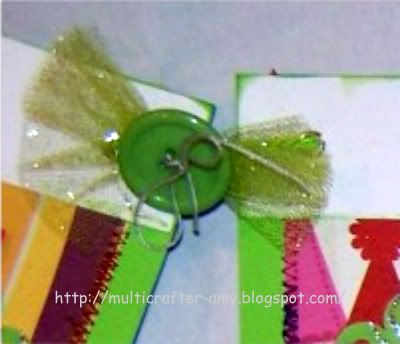
I tied all the pennants together by using this great Cricut green rope. I used my Crop A Dile to punch the holes and add grommets. I needed the holes to be just the right size so the pennants would stay in place if hung. The banner would not be complete without some glitter tulle and buttons tied on crochet thread.

Wish me luck!
Ok this is banner # 1.
I will post the second one in a separate post since this one is so long.

I love how the cat is popping out of the cake.
I thought this cat needs something to hold, so I added a flag for him to hold.
 The seal needed more than one ball to balance at Cricut's party.
So I made two and added some shine with Glossy Accents.
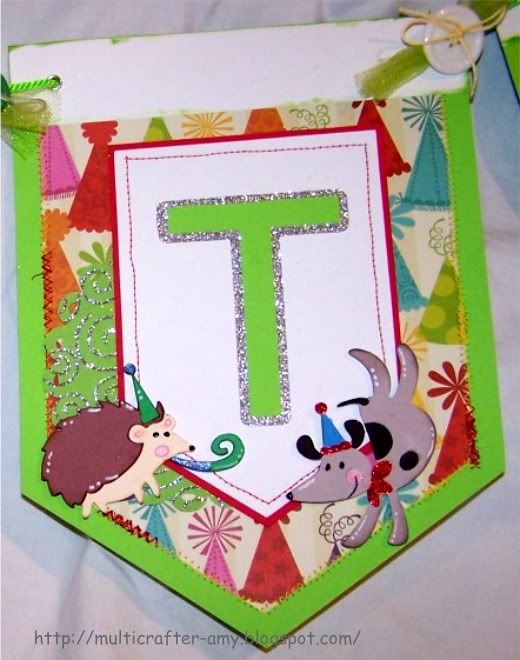
These two just look like they are having a great time.

And here is Cricut floating away with the balloons he got at the party.
They are seen in the first pennant.
The printed paper is from the Imagine Hopscotch cartridge.
I tied all the pennants together by using this great Cricut green rope. I used my Crop A Dile to punch the holes and add grommets. I needed the holes to be just the right size so the pennants would stay in place if hung. The banner would not be complete without some glitter tulle and buttons tied on crochet thread.
Wish me luck!
Ok this is banner # 1.
I will post the second one in a separate post since this one is so long.
Tuesday, September 13, 2011
Been super busy.
I entered a contest to make a banner for Cricut. That I will post a pictures of after they announce the winners. I am working on some items for my little sisters wedding coming up soon. So I have been busy but just can't post them right now. I will post some new stuff soon. :) Very Soon.
Subscribe to:
Posts (Atom)